

WHAT YOU’LL NEED
– Fabric dye ~ we used iDye which you can find online here. We picked these up from our local art store.
– White garments ~ we used our Rosalie Slip. Natural fibres work best.
– Salt and water (half cup salt to 5L of water)
– Rubber bands
– Gloves
– Skewers, jars and bottles for mixing dye and application
– A tray to sit the garment on while you dye (we actually used our oven tray!)
– Bucket


HOW TO TIE DYE
1. Gather white garments to dye. Natural fibres work best.
2. Pre-soak your whites in cold water.
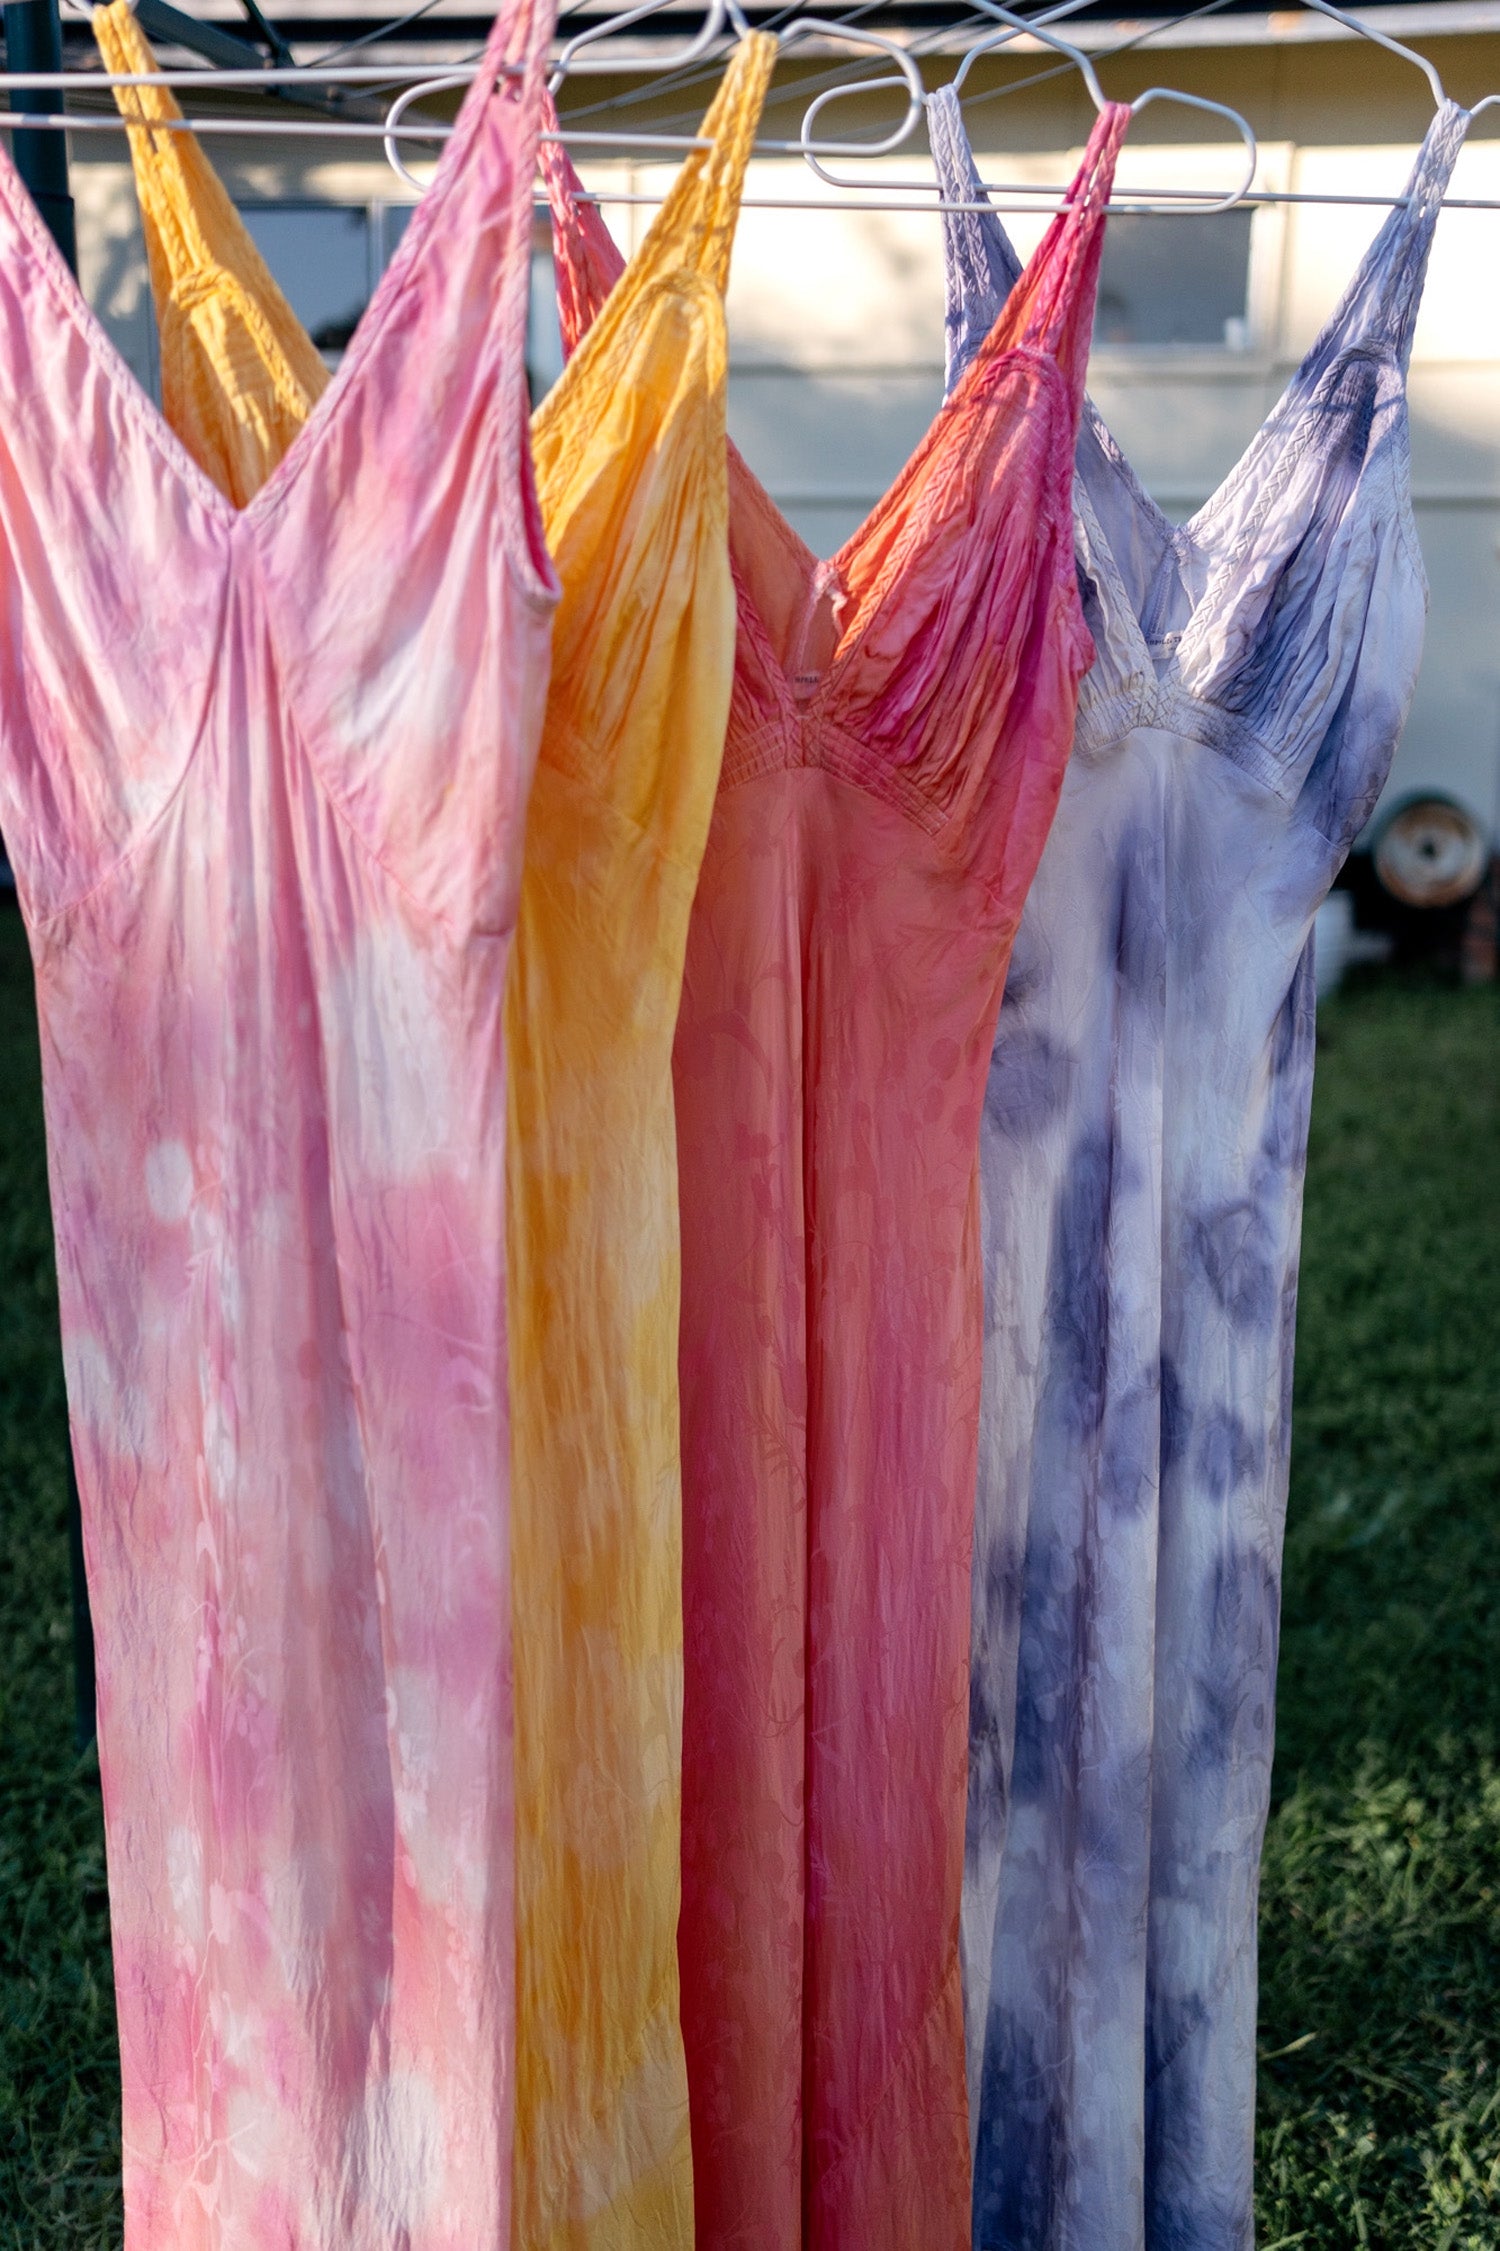
3. Mix up the dye as per the instructions on packet. If you are using multiple colours on the same garment you will need to transfer the dyes to bottles, otherwise you can leave the mixture in buckets/large vessels. We used purple, scarlet, warm yellow and pink, and also mixed together pink and yellow to create a peachy tone. Use some scrap fabric to dip into the dyes to test the colour and adjust the ratio of dye to water accordingly.
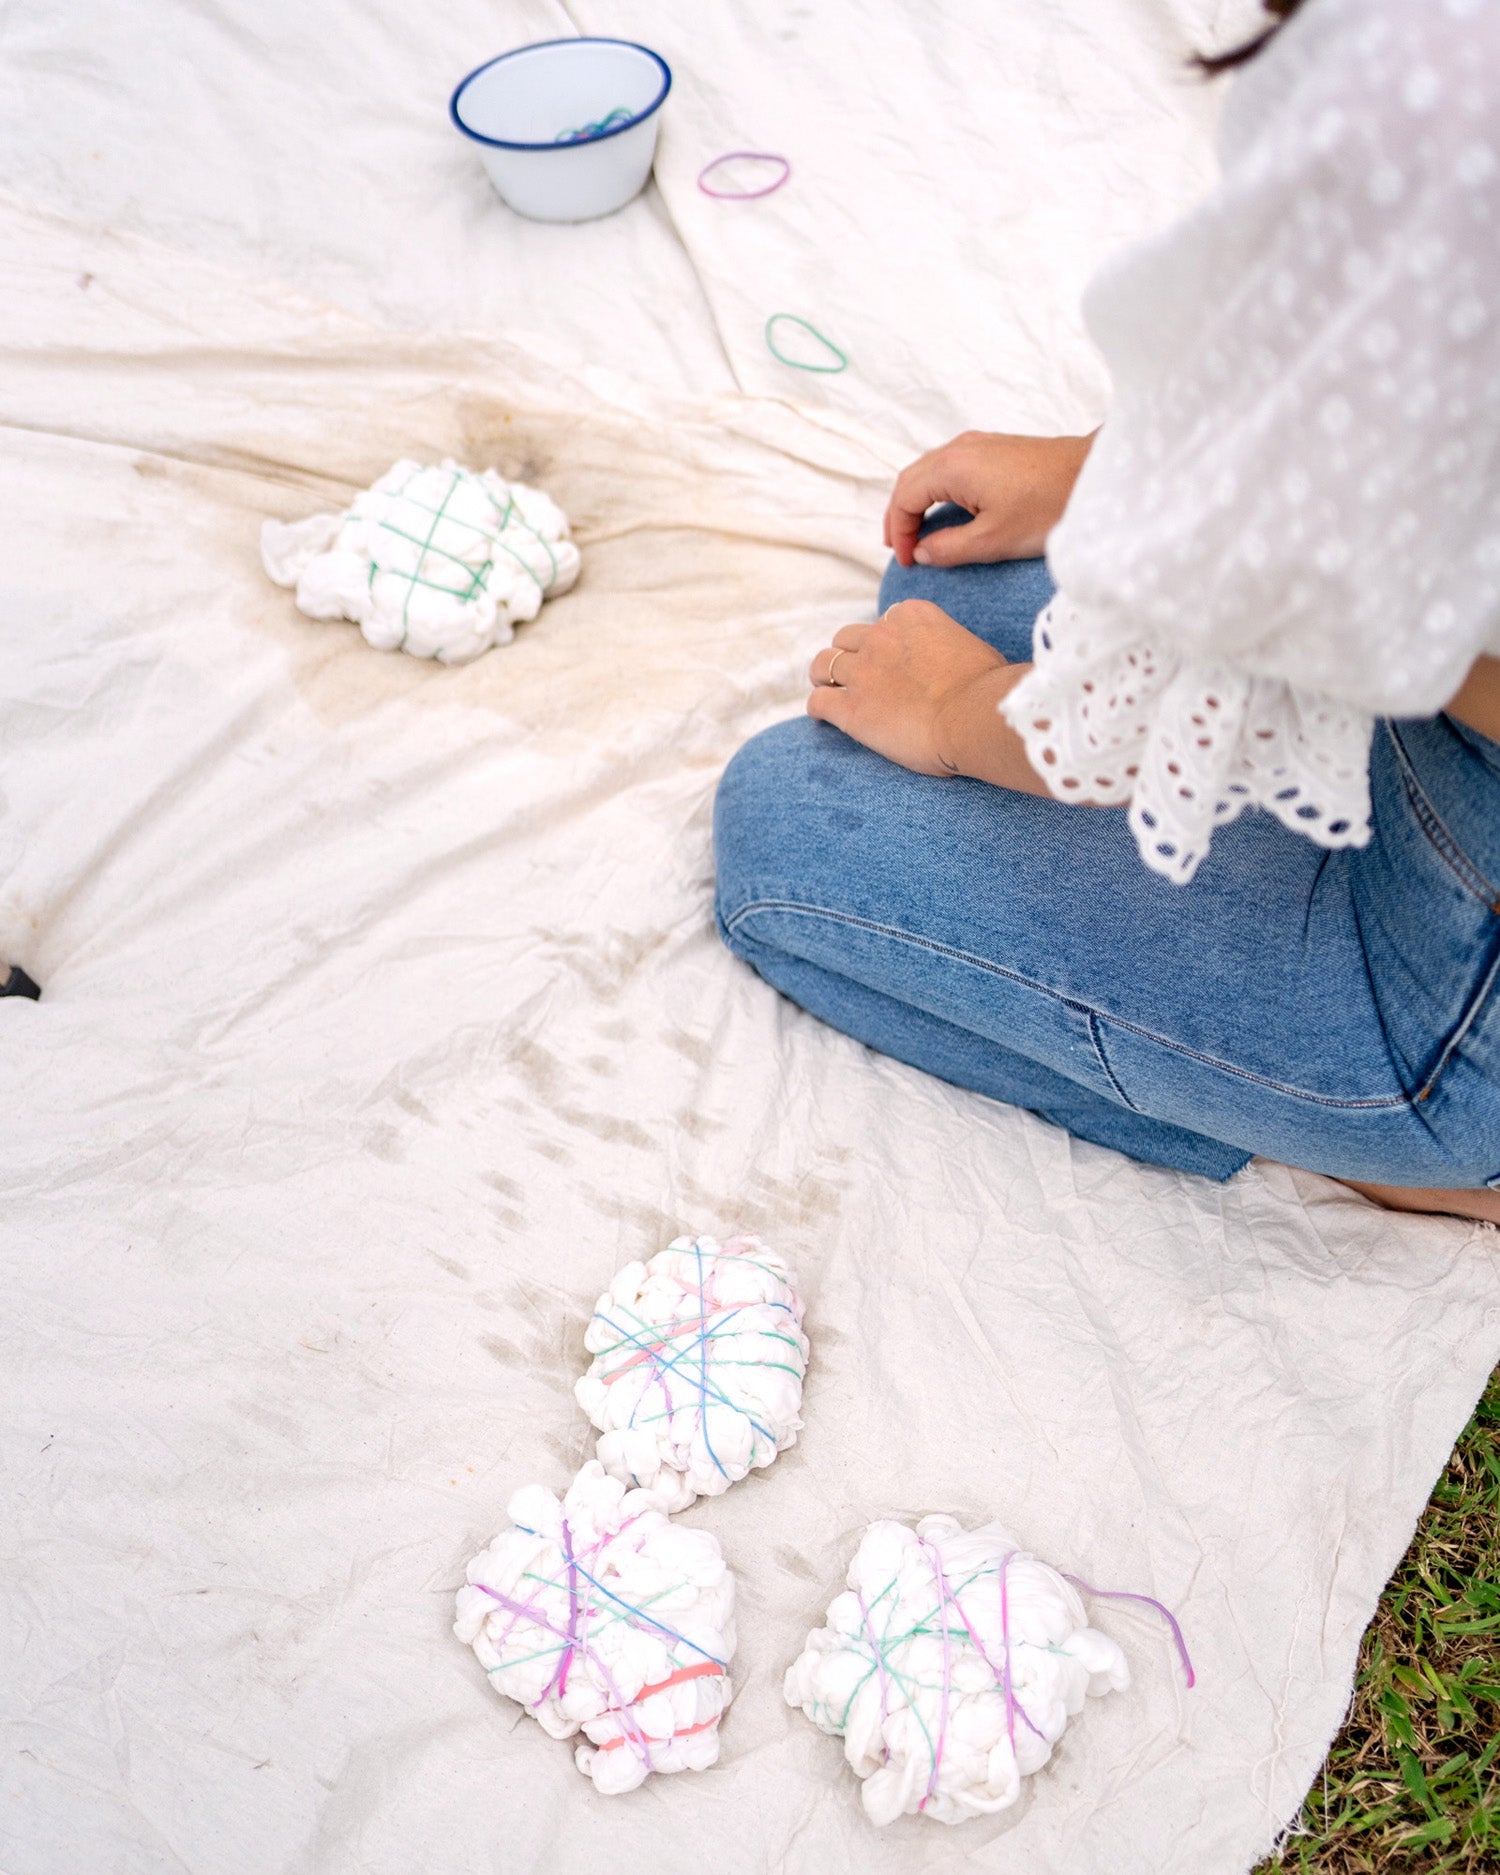
4. Create patterns – there are many techniques that will all give you different patterns/effects. We used the ‘crumple’ method – simply scrunch and twist sections of the fabric together and wrap in rubber bands at random. Here are some more ideas for patterns you might like to try.
5. Squirt the dyes onto your garment, or submerge the garment in the bucket of dye (depending on if you are doing a single or multi colour).
6. Let soak (the time will depend on your desired intensity and the dye you are using, we left the slips for around 4 hours).
7. Cut the bands and rinse out the dye in clean cold water
8. Submerge the fabric in a bucket of salty water (half cup salt to 5L of water for 3-5 mins)
9. Hang to dry
* We’d recommend washing your garment separately for the first wash as more dye might run off.
Share your #spellDIY
